Whether you’re new to Cyberpunk 2077 or a weathered veteran who’s looking for some fresh inspiration, we’ve got just the thing for you! We prepared three varied builds for you to experiment with, and broke them down into easy-to-follow categories so you know where to invest your perk points from the very beginning to the end game, as well as which weapons and cyberware best synergize with them (and where you can find them).
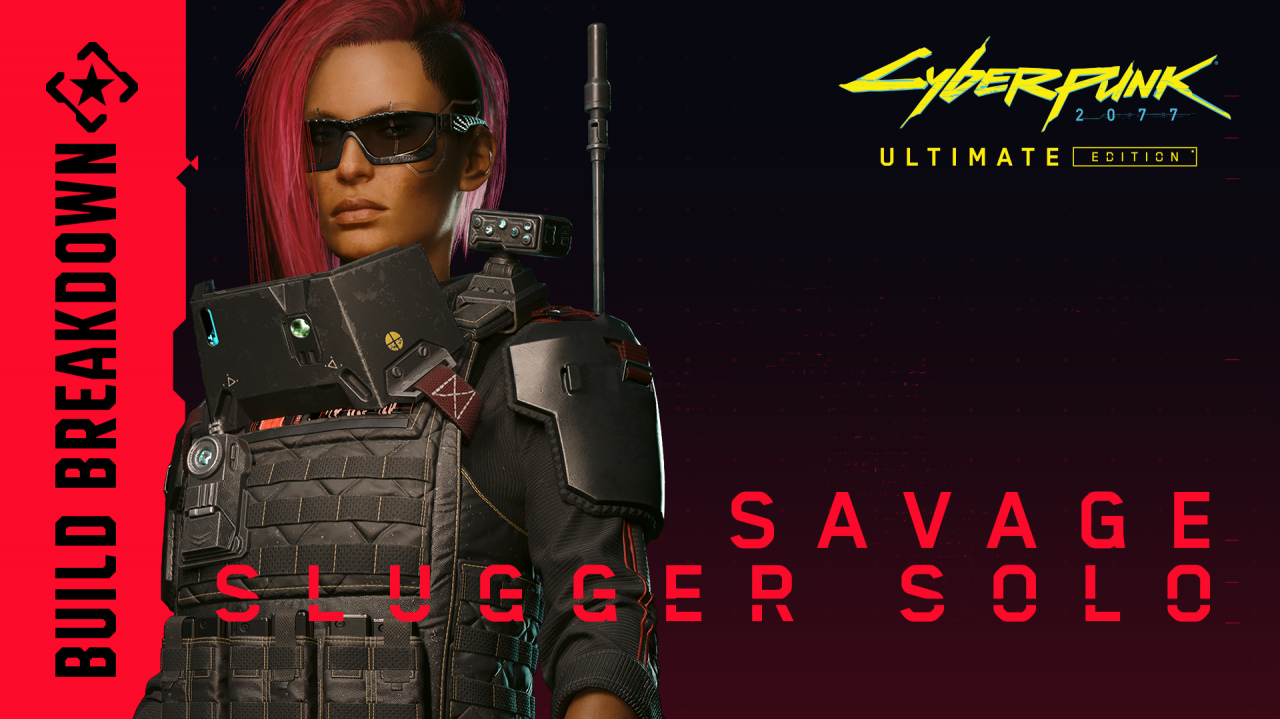
The second build in this series is Savage Slugger Solo — make sure to check it out in our Build Planner.
Instead of radiation, arm yourself with chrome to become the Cyberpunk 2077 version of the Hulk! This build features a ton of great defense from the Body and Tech trees as well as powerful new blunt finishers to send your enemies flying — maybe straight to the moon.
Perks
In this build, we’ll mainly use blunt weapons and shotguns. The great thing about them is that we don’t need to put much emphasis on damage early on and can instead focus on building up our defense. We’ll start by distributing the starting points equally between the Body and Tech trees, and putting any leftover points into the Reflexes tree. First, heavily invest in the Tech tree until you unlock the License to Chrome perk. Chrome Constitution and the Driver Update perks will help with our cyberware capacity and extra stats granted by our chrome. While we’re at it, investing some points into the left Tech branch might be a good idea. Grenades are especially good in the early game and both Demolitions Surplus and Coming in Hot will help us throw them as often as possible.
After reaching the Phenom level in the Tech tree, we should start properly building our Body tree. We’ll be investing our points here all the way up to level 20 to get ourselves Savage Sling. Pretty much every perk in the right Body branch is going to be a great boost to blunt weapons, with Gorilla Arms being one of the best out there — and always available at every ripperdoc in Night City.
With Savage Sling unlocked, we can be a little bit more flexible with where we would like to invest our points next. The middle Body branch is a great choice because it can make us truly unkillable. The right Branch will widen our arsenal and greatly buff our shotguns and LMGs. Allocating points into Reflexes, on the other hand, can help us with positioning ourselves perfectly for some strong Quakes, not to mention it’ll increase our speed.
Cyberware
A proper tank needs a solid skeleton, so we should make sure all of our cyberware slots in this category are always occupied. Bionic Joints are a great early armor boost. We can swap them out with Dense Marrow once we start maining our melee weapons. Universal Booster and Scar Coalescer both provide some extra safety, although once we get to a high Tech level, we can swap Scar Coalescer out for Para Bellum since we’re unlikely to fall under 50% HP. The Tech tree also gives us the ability to equip Cellular Adapter — an 8 CC (cyberware capacity) integumentary cyberware that provides a huge amount of armor on top of other bonuses.
When it comes to offensive pieces, we should snatch both Adrenaline Booster and Microrotors, especially if we swap to a hammer or a baseball bat. Blunt weapons might deal a great amount of damage per hit, but they can feel a little bit slow without extra investment.
Last but not least, you should give Fortified Ankles a try. They might be less intuitive than the standard double jump, but offer even greater height and armor, which will help us land some powerful Quakes.
Weapons
Before we start investing into blunt weapons, we should be on the lookout for the most powerful shotgun we can find. Luckily for us, Rebecca's weapon, Guts, is still out there in Corpo Plaza, which can be accessed immediately after starting Act 1. This beast of a shotgun should carry us for the majority of the game.
Some of the most powerful blunt weapons can be looted during story missions, so we don’t need to go to any specific location to find them. Finger’s Cane can be looted in Finger’s Clinic and the Sasquatch Hammer drops from, you guessed it, Sasquatch. Those weapons are the most powerful tools for Wrecking Ball and Quake respectively; however, if you find Sasquatch’s Hammer movement speed penalty annoying, you can always swap it for a standard hammer. Don’t get too feisty when exploring the Animals’ club during the “Beat on the Brat” mission and you’ll get access to the Animals’ vendor, who always has some nice hammers in stock and can even sell you crafting specs for them.
Late game
So far, our build focused on close-range weapons, but our perk investments open up some very competitive alternatives. The Ticking Time Bomb master perk can be combined with either Berserk or a Sandevistan, the Shock-N-Awe cyberware, and Painducer to transform us into a walking power plant. Combining everything together makes it possible to explode all nearby enemies with powerful EMP blasts. If anyone survives this deadly combination, you can finish them off with Savage Sling and send them flying further than your Kiroshis can see.
comments_5